WOTTLONDON
CUSTOM IRON-ON TRANSFERS
IRON-ON INSTRUCTIONS
Watch How To Apply Your Transfer
How To Apply Your Transfer
-
Place the garment on a
hard, flat, heat-resistant surface.
-
Position the transfer exactly where you want the design to appear.
-
Set your iron to
150°C.
Do not use steam.
-
Press the transfer firmly for
30 seconds.
Apply firm, even pressure over the entire design.
-
Leave the transfer in place and
allow it to cool completely.
-
Once cool, slowly peel away the clear plastic carrier.
-
Place the peeled plastic carrier back over the printed design.
-
Press the design again for
15 seconds
at 150°C.
-
Remove the iron and allow the garment and transfer to cool before handling.
Important
Always use a hard, flat surface rather than an ironing board.
Do not use the steam setting on your iron.
Make sure the whole design receives firm and even pressure.
Garments and fabrics can react differently to heat. If you are unsure,
test a small hidden area of the garment first.
Create Your Own Transfer
Preparing artwork for a custom transfer?
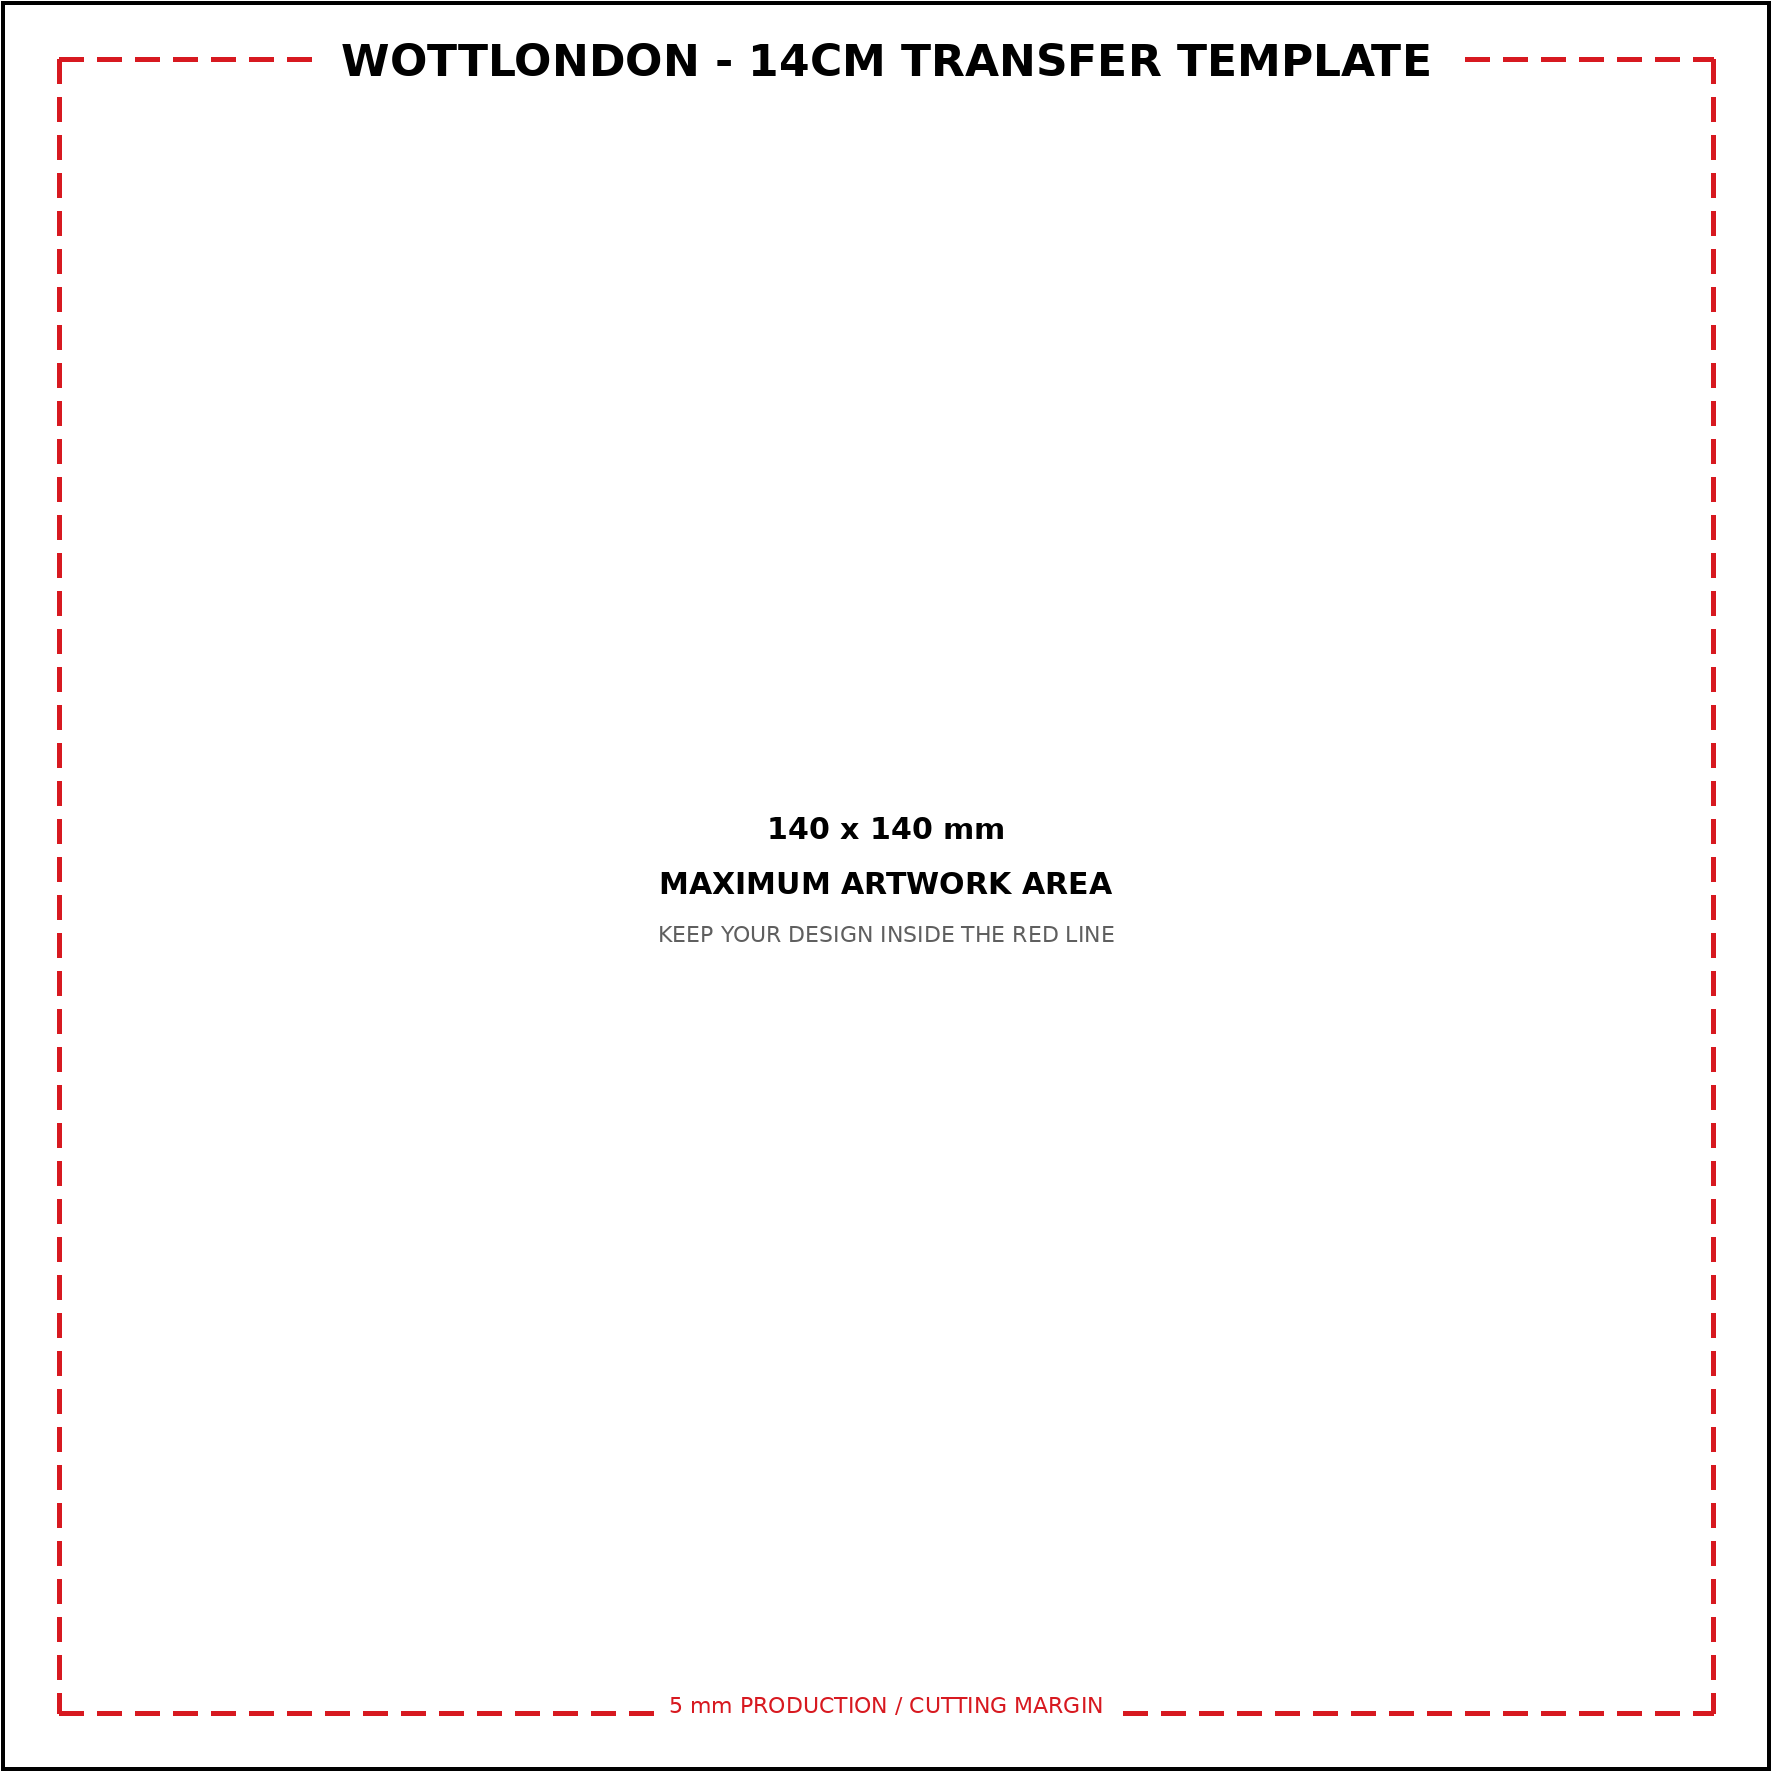
Download the WottLondon 14 × 14 cm artwork template.
The template includes the full 140 × 140 mm design area plus the
5 mm production and cutting margin.
WottLondon Custom Iron-On Transfers
Please follow the application instructions carefully for best results.